HD Lace Wigs
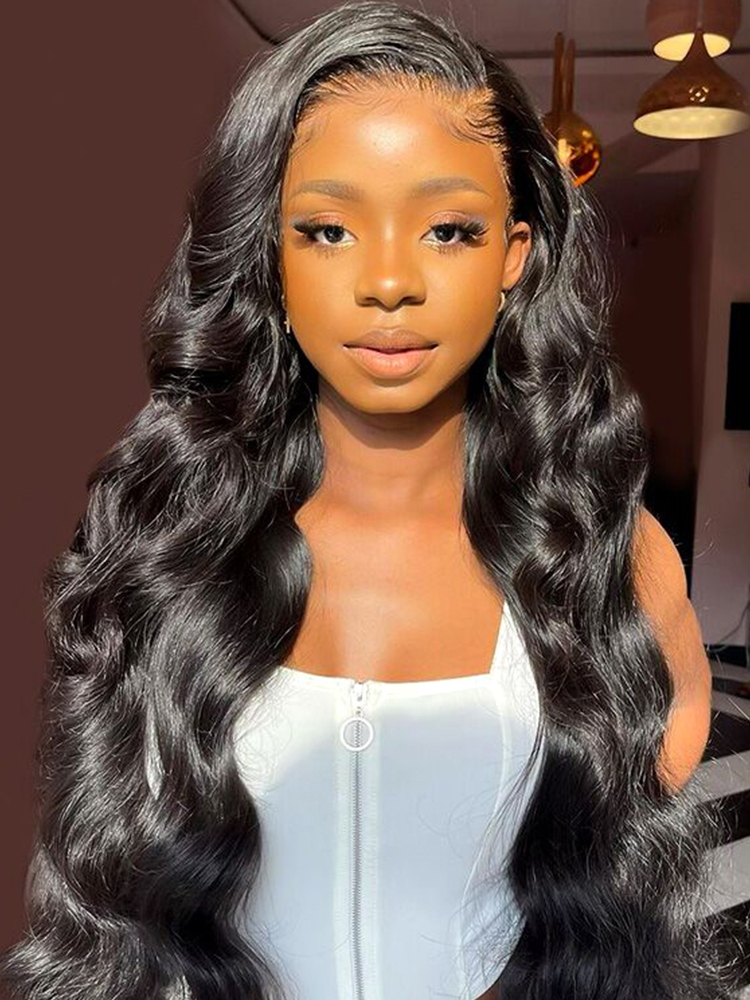

Sep 15, 2025 12:17:52 AM
Mastering the Technique: How to Do a Wrap Hair
An Introduction on how to do a wrap hair has become a mainstay for modern hair care, allowing those who use it to maintain their hairstyles, avoid excessive frizz, and keep their tresses safe while sleeping or lounging. To be clear, we are not talking about using anything like a half-dozen hair ties to wrap going to bed, nor are we advocating for those old-fashioned, sometimes freaky, scarf/mask combo looks of the past.
The Necessity of Hair Prep Before Wraps
Before the wrapping process begins, the hair must be completely clean and stripped of any remnants of products. To lay the proper groundwork for a clean wrap, a person first washes their hair with a product meant for cleansing. Such a shampoo is often referred to as a "clarifying shampoo."
This type of shampoo does a much better job than a standard daily shampoo of removing residues from the hair. It acts almost like a detergent. Not only does it remove any stubborn product buildup, but it also allows for new growth because the hair is now in a more nourished state.
Grasping the Motion and Direction of Wrapping Hair
Hair wrapping starts in the right place, with the right tools, and, above all, in the right direction. First, you need to have correct posture so that the stylist, if someone is helping you, or you, if you're doing it yourself, can see the back and sides of your head well enough to make (or direct) a smooth, circular motion all around the head.
This is secret number one to getting sewn down: good posture, so the person wrapping can see and do it well. If you were to do it with a mirror, you'd face left or right to alternate directing the hair on each side of the head to travel just a bit farther along the head's curve, behind the ear, and onto the nape.
Controlled precision is required for both the brushing and sectioning of the hair, and if it is not done correctly, the next steps become extremely essential to ensuring that the hair retains its head shape and doesn't look like a "hair piece" at the beginning of the wrap.
Ensuring the Wrap is Secure for Maximum Hold and Protection
After the hair is completely encased and lying flat against the scalp, it is time to fasten the style correctly using proper tools. A satin scarf is preferred, but a silk wrap or mesh wrap cap can also do the trick. They all serve a dual purpose: allowing you to maintain the structure of the wrap overnight and enabling your hair to survive external friction caused by your pillow and bedding.
Your hair is much more fragile when it's wet, which is when a wrap is typically done. Even when dry, hair can withstand very little stress without something giving way; whether it be a broken hair strand, a tension headache, or a surface that leaves imprints in your hairstyle. All these problems are reduced when either a scarf serves as the outer layer of the wrap or a wrap cap is worn.
Unwrapping and Styling the Hair the Next Day
The final and equally vital step in the wrapping process is carefully unwrapping the hair, which must be done with patience to preserve the sleekness and avoid creating tangles or dents. Begin by removing the scarf gently, then using your fingers or a wide-tooth comb to unravel the wrap in the opposite direction of how it was originally styled, ensuring each section falls naturally and blends without resistance.
This step reveals the true benefit of learning how to do a wrap hair, as it showcases the smooth, voluminous, polished result of your overnight effort, ready to be worn as-is or styled further depending on the occasion. Whether you prefer a soft body wave, a straight and sleek look, or a half-up variation, unwrapping the hair provides a perfect base with minimal need for additional heat or product.
Although wrapping hair is a common practice, some individuals do not wrap their hair correctly. Common mistakes include the following: Wrapping when the hair is too damp, not using the right brush, using too much product, wrapping in different directions each night, or not maintaining enough tension.
Wearing a hair wrap overnight is a good way to protect one's hair from damage. The author claims, however, that they have observed some individuals who do not have a consistent form of a hair wrap, missing the protective benefits and hairstyle longevity associated with a proper wrap. Learning how to do a wrap hair style correctly takes practice, as well as the trial and error of different directions, products, brushes, and tools.
Reasons Why Wrapping Is Great for Wig and Extension Users
Natural, curly, and coily hair benefits greatly from nightly wrapping, but the practice is equally as important for those who wear wigs, sew-ins, or clip-in extensions. Wrapping not only helps blend the natural hair with the added hair, but it also reduces friction that can loosen or disrupt the installation of the wig or extensions over time.
Knowing how to wrap hair properly gives wig users a reliable way to preserve a sleek frontal or closure style, extend the life of their unit, and maintain the overall hair health beneath protective styles. These reasons make nightly wrapping an essential practice for wig users.
Recommendation
If you are hunting high and low to dial in your hair wrapping routine or need top-notch human wigs and styling products that work with this method, then look to WESTKISS. The brand specializes in working with different kinds of hair (human, synthetic, and everything in between) and styles and textures that you might be trying to achieve with a wrap. Our selection of wigs, for instance, would allow a beginner to practice the wrapping technique with the same kind of hair that they might be using post-practice.